Basics and Essential Commands of Git for Beginners
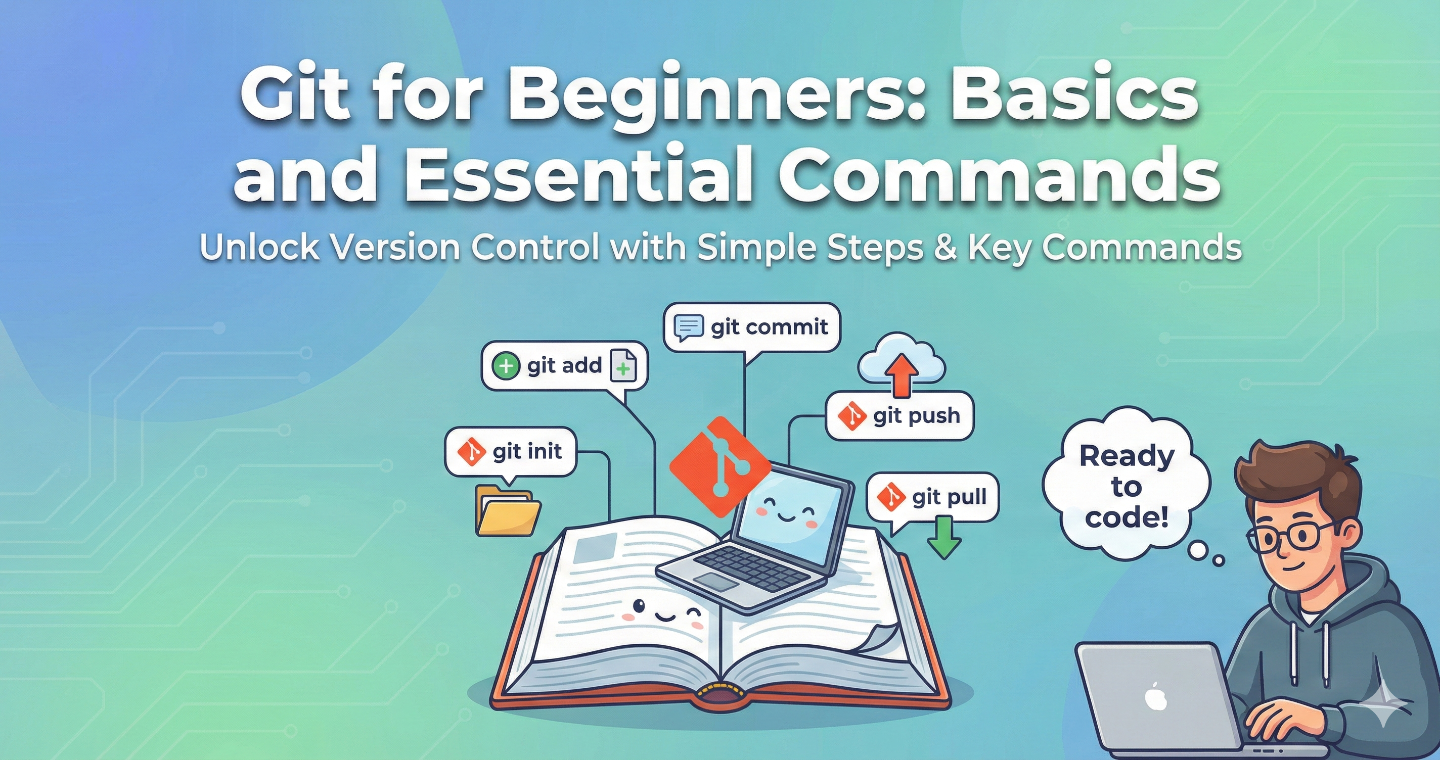
Welcome to the world of coding! If you have ever worked on a school paper or a personal project, you’ve probably ended up with files named final_v1.docx, final_v2_REAL.docx, and final_FINAL_v3.docx.
It gets confusing fast. Now imagine doing that with thousands of lines of code and multiple people working on the same files. It would be chaos.
This is why developers use Git. It is an essential tool in modern programming, and while it might look intimidating at first, the basics are actually quite straightforward.
Let’s break down what Git is and the essential commands you need to get started.
What is Git?
At its simplest, Git is a Version Control System (VCS).
Think of Git as a super-powered "Save" button for your coding project. It doesn't just save the current state of your files; it takes a snapshot of exactly what your whole project looks like at that moment and stores it in a history timeline.
Imagine it like a video game. Before you fight a difficult boss, you save your game at a checkpoint. If you lose the fight, you can reload back to that checkpoint.
Git does the same for code. If you try a new feature and completely break your app, you can easily "reload" back to the state it was in yesterday, or last week, or last year.
Furthermore, Git helps teams work together. It manages changes from different people so you don’t accidentally overwrite your friend's hard work.
How to use Git
Git isn't usually a program with a graphical interface that you click around in (like Microsoft Word). While those exist, most developers interact with Git using a terminal (also called the command line, PowerShell, or Bash).
It looks like a black screen with white text, similar to what you see hackers use in movies. Don't worry—it’s not as scary as it looks!
You type specific text commands into the terminal to tell Git what to do, and it responds with text telling you what it did. Learning these commands is the best foundation for understanding how Git truly works.
Type of Git commands
There are hundreds of Git commands, but as a beginner, you can ignore 90% of them. The commands you need fall into a few simple categories:
Setup Commands: You do these once when you first install Git to introduce yourself.
Initialization Commands: You do this once per project to tell Git to start watching a specific folder.
The "Saving" Workflow Commands: These are the commands you use dozens of times a day to track your progress.
Information Commands: These commands let you ask Git, "What is the current status of my project?" or "Show me the history of changes."
Essential commands of Git
Here are the absolute must-know commands to start your Git journey.
Note: In the examples below, lines starting with $ indicate what you type into your terminal. Lines without it are Git's response.
1. The First-Time Setup (git config)
Before you start, you need to tell Git who you are. Git attaches your name and email to every change you make, so history can be tracked accurately.
Run these two commands, replacing the names with your own:
$ git config --global user.name "John Doe"
$ git config --global user.email "johndoe@example.com"
2. Starting a Project (git init)
Let’s say you have a folder on your computer for a new website project. You need to tell Git, "Hey, start tracking the files in this specific folder."
Navigate to that folder in your terminal and run:
$ git init
Initialized empty Git repository in /Users/John/my-website/.git/
Your folder is now a Git repository!
3. Checking status (git status)
This is probably the command you will use most often. It asks Git, "What is going on right now?" It will tell you which files you have changed that haven't been saved to history yet.
$ git status
On branch main
Untracked files:
  (use "git add <file>..." to include in what will be committed)
        index.html
        style.css
4. The Two-Step Save Process (git add and git commit)
This is the most important concept for beginners. In standard programs, you just press Ctrl+S to save. In Git, saving to history is a two-step process: Staging and Committing.
Step A: Staging (git add) Think of this like taking a family photo. First, you have to gather everyone you want in the picture and tell them to stand on the stage.
The git add command tells Git which altered files you want to include in your next snapshot.
To add a specific file:
$ git add index.html
To add ALL changed files at once (very common):
$ git add .
Step B: Committing (git commit) Now that everyone is on stage, you press the shutter button to take the photo.
The git commit command takes the snapshot of the files you staged and saves it permanently into the timeline. Every commit requires a message describing what you did.
$ git commit -m "Created the homepage and added basic CSS styles"
[main (root-commit) 28a3e6b] Created the homepage and added basic CSS styles
 2 files changed, 55 insertions(+)
 create mode 100644 index.html
 create mode 100644 style.css
Tip: Your commit messages should be clear. "Fixed bug" is bad. "Fixed navigation bar overlap on mobile screens" is good.
5. Viewing History (git log)
If you want to see a list of all the "snapshots" you have taken in the past, use this command. It’s like scrolling through your project's Instagram feed.
$ git log
commit 28a3e6b9c8... (a long unique ID number)
Author: John Doe <johndoe@example.com>
Date:   Fri Oct 27 14:30:00 2023 -0400

    Created the homepage and added basic CSS styles
Summary Workflow
Once you are set up, your daily routine will look mostly like this loop:
Do some coding work.
Run
git statusto see what you changed.Run
git add .to stage those changes.Run
git commit -m "Describe what you did"to save the snapshot.Repeat!


